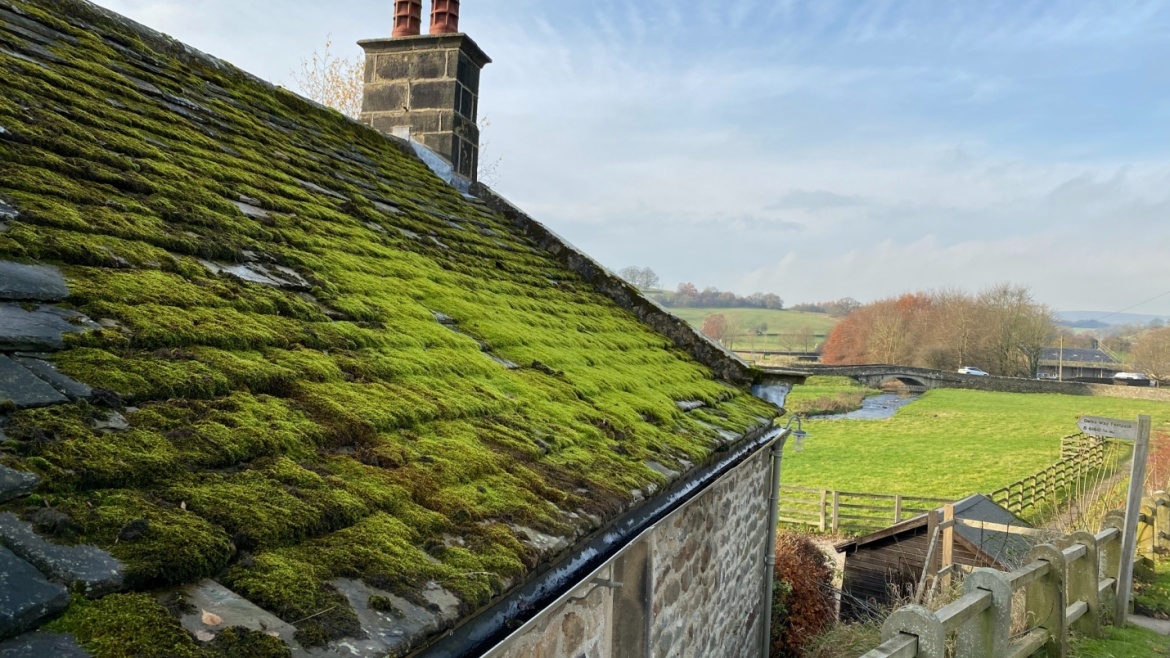
While moss growing on your roof can give your house a little bit of a cottagecore vibe, it certainly is damaging to the structural integrity and lifespan of your roof. Moss growth can lead to drainage blockage and moisture buildup, weakening the roof’s structure and leading to the growth of insects and other bacteria.
Moss removal from your rooftop can be a difficult task, but we have broken it down into easy steps for you! Keep reading to learn more.
Why Is Moss Removal From Your Roof Important?
The presence of moss on your rooftop can lead to long-term damage, so it’s best to remove it as soon as it starts appearing. Large clumps of moss can damage roof shingles and cause leakages and tears, which are too costly to repair. If moss is not removed from the rooftop, it will soak up water from rainfall and snow and will create an ideal environment for further moss growth. It’ll also create a breeding ground for mosquitoes.
Excessive moss growth eventually seeps in through gaps and cracks in the roofs, damaging the interior ceilings and ceiling lights. This can lead to mold and mildew growing inside your home and becoming a health hazard. It is especially detrimental to the health of anyone with asthma.
Roof moss removal should be the first thing on your to-do list because it hampers the drainage system and lowers the aesthetic appeal of your house. Hire a moss removal service to do the job for you.
Remove Moss In 3 Easy Steps!
Here are three easy steps for you to follow to remove moss from your rooftop:
1. Use a Stiff Brush
Never clean moss with the pressure washing technique. It will harm your rooftop shingles and uplift them, leading to leakage. Always use a stiff brush to clean up moss. A cost-effective way is to use a long-handled stiff brush and simply scrap away the dry moss. Stiff brushes are easily available. Use them with a towel when removing moss.
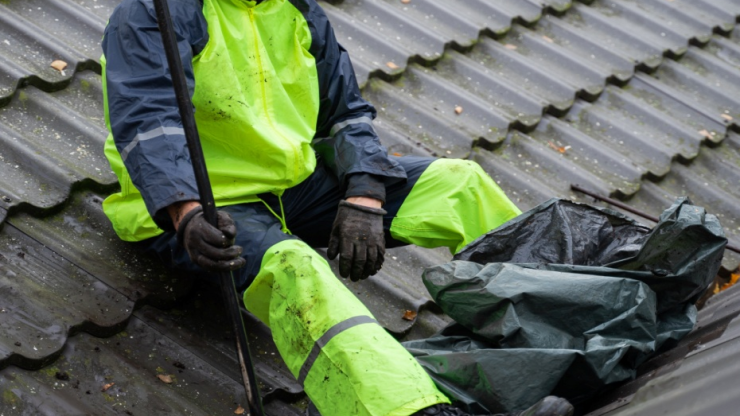
If you can’t access your rooftop easily, hire a professional rooftop cleaning service to ease your job.
2. Get Roof Moss Killer and Putty Knife
You can easily purchase moss-killer chemicals from your nearest hardware shop, Home Depot, or purchase them online on Amazon. Make sure you are wearing protective gear because harsh chemicals can harm your skin. Additionally, you can strap on a pair of safety harnesses to prevent any injury. Remember, these harsh chemicals have the potential to leak into the groundwater.
If you are facing difficulty in removing moss, hire a professional now!
3. Wait for the Moss Killer to Do Its Magic
Different moss killers, such as liquid and dry ones, work differently. They usually take four to five weeks to kill the moss. If the clumps of moss are too large, it might take longer than that. It also depends on the weather conditions of your area and the size of the roof.
Once the waiting period is over, you will notice the dead moss has turned brown and flaky. Now you can easily scrape it away with a stiff brush. If there is moss in the cracks and gaps of your roof, use a putty knife to remove it.
Hire A Pro!
Bird’s Window and Gutter Cleaning provides reliable window cleaning, moss removal, and gutter cleaning services.
Contact us now to schedule your appointment!